In the following example, I’ll be applying transparency map to a flower vase model. Later in the activity you will do the same but for a different object. Let me just explain the basic steps for transparency mapping.
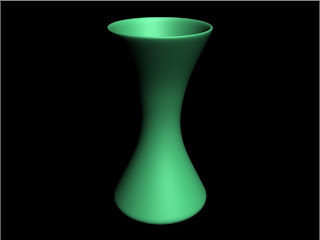
Figure 3-12. Flower Vase model.
The first thing we do is to apply self-illumination to the object. You can specify any color for the object. This color will be visible when the texture of the object is transparent.
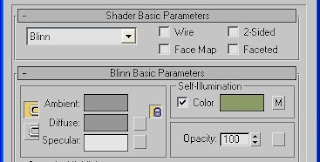
Figure 3-13. Self-Illumination is activated.
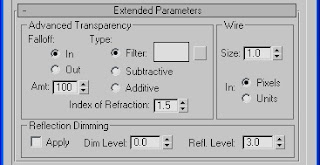
Then, on the ‘Extended Parameters’ turn on the ‘Falloff: In’. Change the ‘Amt:’ value to 100 for maximum transparency effect. On the ‘Filter’ color, you can specify the color in which the transparency will adapt to. In our flower vase model, we’ll use the color black.
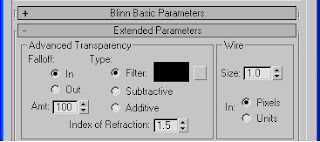
Figure 3-14. The Extended Parameters.
On the Maps roll-out, check on the ‘Self-Illumination’ and choose the ‘Falloff’. This will just increase the transparency map that we want to apply.
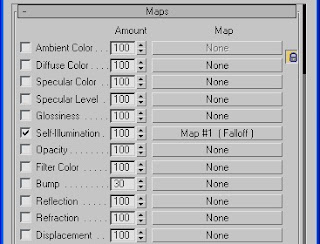
Figure 3-15. Self-Illumination Map.
In the ‘Falloff Parameters’, Match the second color to the self-illumination color we applied earlier. Apply the texture to the flower vase and you see how transparency mapping is applied.
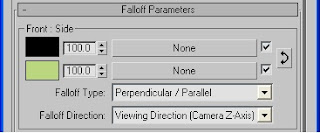
Figure 3-16. The Falloff Parameters.
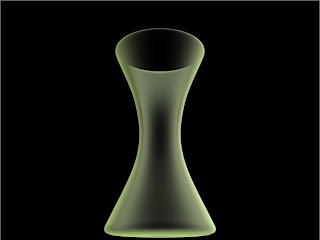
Figure 3-17. Final Rendered Image of the model.
Try This!
1. Model a pawn (chess piece) using Line. Initial type is corner while the drag type is smooth.
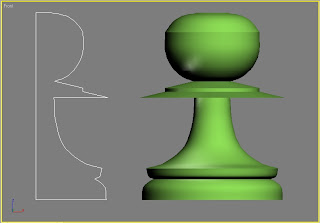
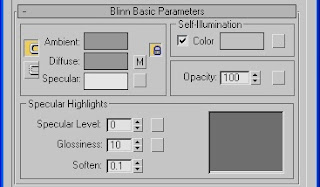
2. Open Material Editor and check the Self-Illumination box under the Blinn Basic Parameters. Turn the color to pale white.
3. On the Extended Parameters rollout, change the value for Falloff amount to 10. Also, change the Filter color (under Type) to pale white.
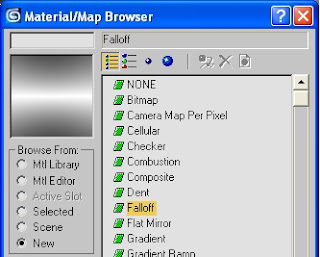
4. In the Maps rollout, click on the None button of the Diffuse Color.

5. Double click on the ‘Falloff’.
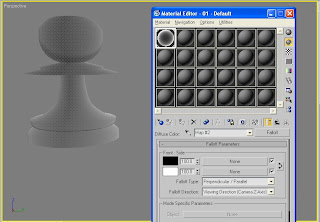
6. Just drag the first slot to the pawn model.
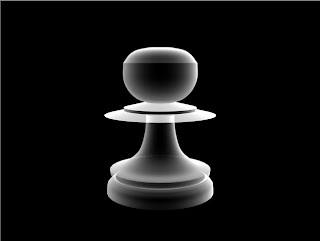
7. Click on the Quick Render button and your model should look just like the figure below.

No comments:
Post a Comment