
Let’s say we are going to model a 3D globe. I think you know how easy it is. All we need is a standard sphere primitive and just place a world map. Then, we’ll just have to adjust the specular highlights to sooth an actual globe object.
You can just place a sphere on the top viewport. Change the number of segments to 64 for a smoother look.

Figure 3-10. A sphere object with 64 segments.
Download a world map from the Internet. I would suggest for a JPEG file with a 800 x 600 or greater resolution. After downloading the world map, apply it on the sphere as a Diffuse Color: Bitmap.

You may adjust the specular level to 40 to give it a shine. Then, you can model the rest of the globe by adding the inclined holder and the stand. Use lofting for both the inclined holder and the stand.

Figure 3-11. Rendered image of the globe object.
Now try the activity I’ve prepared for you. Have fun!
Try This!
1. We’ll add texture to a teapot model. The result of this activity will be similar to the image shown below.

2. Place a teapot on the top viewport and click on the ‘Zoom Extents All’ button located at the lower-right portion of Max. This will zoom the teapot in all viewports.

3. On the ‘Parameters’ roll-out, change the value of ‘Segments’ from 4 to 32 for a smoother looking teapot.

4. Then, open the Material Editor. Scroll down and click on the ‘Maps’ roll-out. On the Maps list, click on the ‘None’ button beside ‘Diffuse Color’. Double click on ‘Bitmap’ and locate the image file ‘Blue Hills’ in ‘My Pictures’ inside the ‘My Documents’ folder. Window XP has these default image files. Click on the ‘Open’ button.
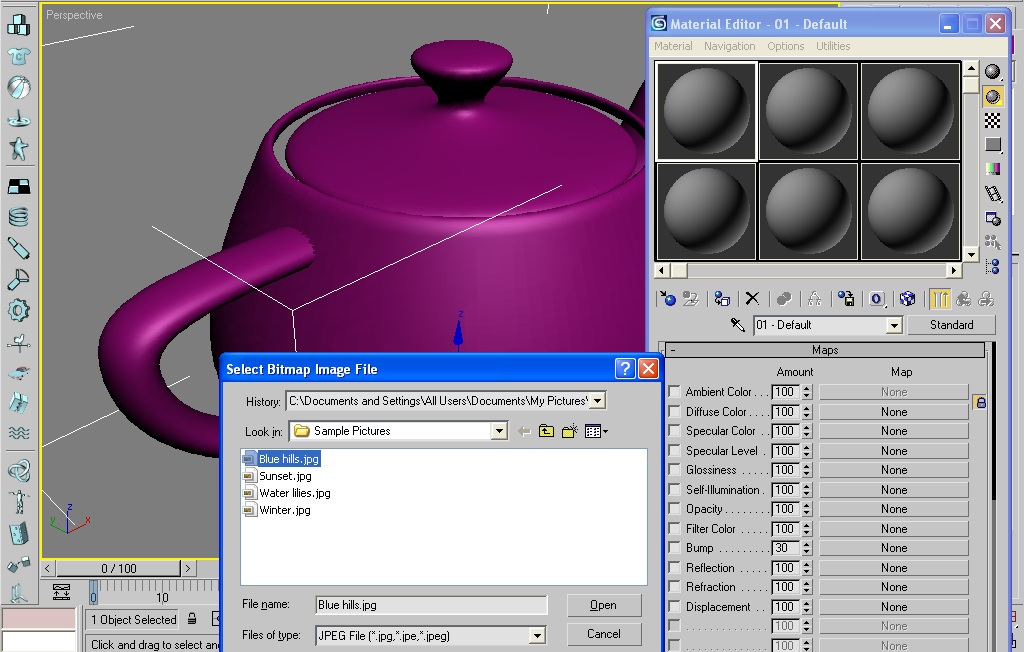
5. The image file should appear on the first slot. This time click on the ‘Go to Parent’ button so that we can add specular highlights.

6. Scroll up and locate the ‘Blinn Basic Parameters’ roll-out. Look for the ‘Specular Highlights’ group and change the following values. Specular Level = 75, Glossiness = 25.

7. We should expect that our teapot will be shinny. Now, drag the slot to the teapot and look how shinny the teapot is. Don’t forget to click on the Show Map in Viewport button or else all you see is the gray color applied on the teapot.
8. Click on the ‘Quick Render’ button on the Main Toolbar for a more dramatic result.

No comments:
Post a Comment