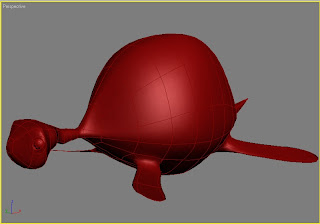
I choose box modeling to create living things such as a turtle. It’s fairly easy. We convert the box primitive to editable mesh and work our way to model a turtle. I’ll demonstrate how it’s done and you can just follow on your computer as you read along.
Try This!
When doing an organic model, we usually need a visual aid or a reference image. So, I already set up the reference images below. It’s best to have the top, front, and side views of the object we want to model. In this case, I used planes to serve as my canvass. You can skim to the next section (Texturing) and figure out how to place an image on a primitive shape.
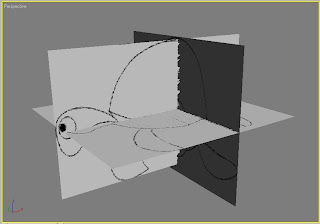
Download the reference images below by "right-clicking" and "saving-as."
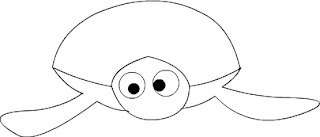
Front View
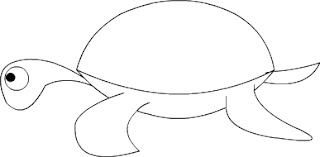
Side View
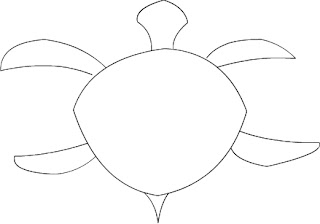
Top View
1. Create a box with length segment of 3, width segment of 8, and height segment of 3. Place it like the figure below.
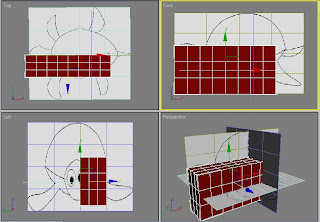
2. To see the edge faces, right-click on the viewport labels (Top, Front, Left, Perspective) and choose ‘Edge Faces’.
3. Right-click on the box and choose ‘Properties’. In the ‘Display Properties’ group, check the ‘See-Through’ box. Then, place the box at the middle of the turtle like the figure below.
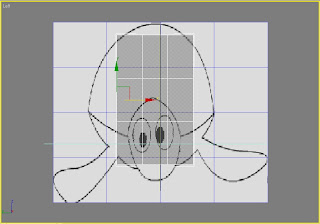
4. Convert the box to editable poly by right-clicking on it and choose ‘Convert To:’ Then, click on the ‘Convert to Editable Mesh’.
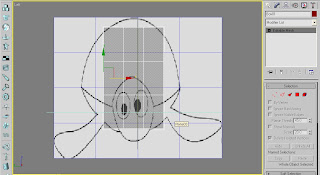
5. Now, click on the ‘Vertex’ button (three dots) located just below the ‘Selection’ group. Or, go to the modifier stack and click on the plus sign and select the ‘Vertex’. Move the vertices on the left view as shown in the figure below.
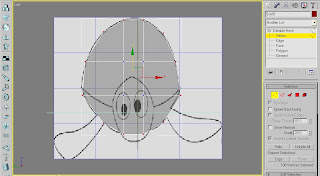
6. Continue moving the vertices. This time move the vertices in the Front viewport. Like this.
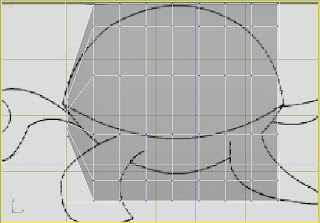
7. Okay, just move the vertices like the figure below.
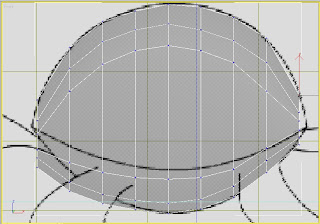
8. Here comes the exciting part. Move the vertices in the Top view just like you see below.
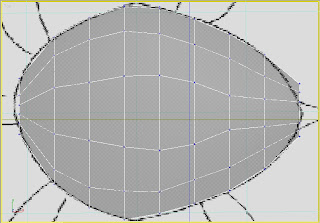
9. Your turtle should look like the one below.
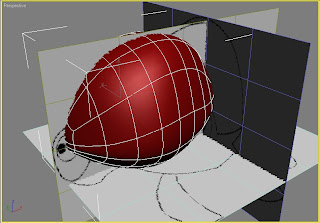
10. We’re now going to create the fins of our turtle. First, convert the mesh to editable poly by right-clicking on the object. Choose ‘Convert To:’ and select ‘Convert To Editable Poly’. In this way we can use some of the features found in editable poly.
11. Select the polygon that corresponds with the front fin of the turtle. Follow the figure below.
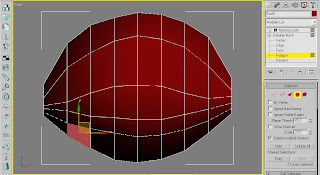
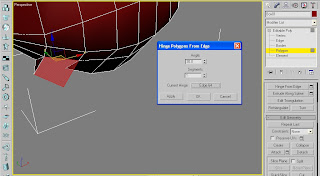
12. Scroll down the parameters area and look for the button ‘Hinge From Edge’. Leave the default value for ‘Angle’ as it is. Instead, click on the button ‘Pick Hinge’ and click on the top edge of the selected polygon.
13. Select the edge at the center and click on the window button beside the ‘Extrude’ button. Make the necessary configurations just like the figure below.
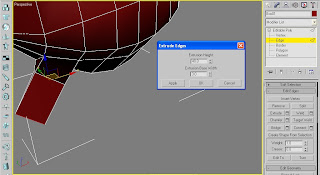
14. Make another extrusion. This time the ‘Extrusion Height’ is half the first one.
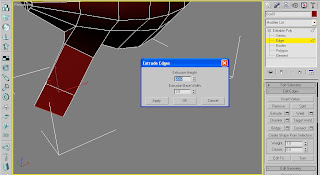
15. Let’s adjust the direction of the fin so that our turtle will look like flying on empty space. Select vertex and move the points just like the image below.
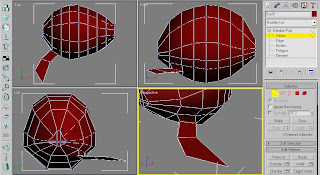
16. Perform steps 11 to 14 to create the back fin. Don’t worry about the two fins on the other side. We’ll eventually cut the turtle into two so that each side will be symmetrical.
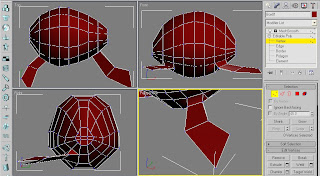
17. Now, we are going to create the tail of the turtle. Select 2 polygons at the back of the turtle and move them back to form the tail.
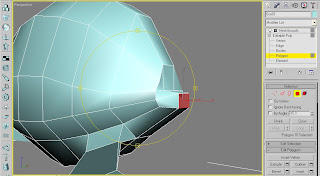
18. Then, extrude the polygon just like the figure below.
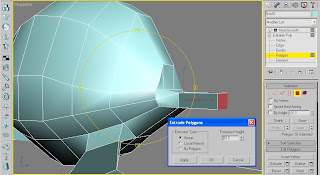
19. Select vertex and move the points to make the tail pointed like the figure below.
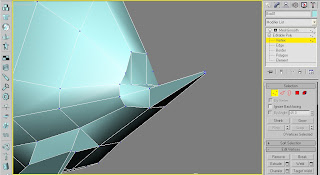
20. It’s time to create the head of our turtle. We’ll use the same technique as what we did to the tail. Select the polygon that will serve as the neck of our turtle.
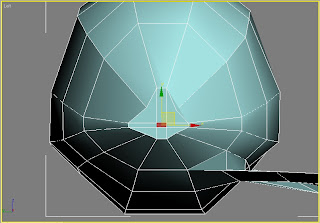
21. Pull that polygon slightly outwards to form the base of the neck.
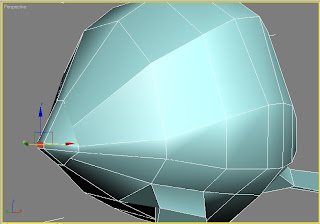
22. Then, extrude the polygon just like the figure below.
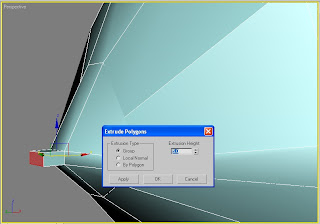
23. Go to vertex and adjust the size of the front polygon.
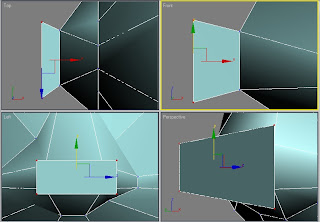
24. Click on the small window button beside the ‘Bevel’ button and enter the following values in the pop-up window.
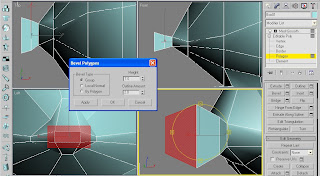
25. Do step 24 twice to form the neck of our turtle.
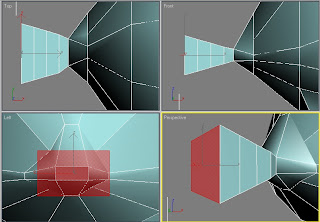
26. Select vertex and adjust the positions of points. Just follow the figure below.
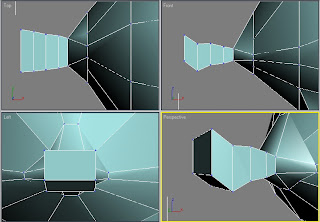
27. Then, select polygon and perform 3 bevels on the front polygon like the figure below.
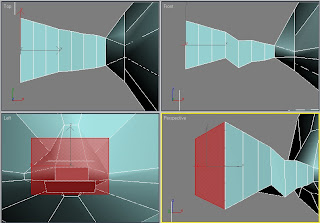
28. Perform step 27 twice but the ‘Outline Amount:’ is -2.
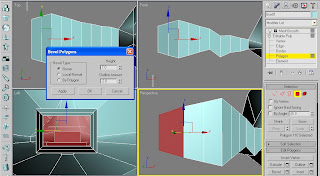
29. Go to vertex and make the head of the turtle round shape. Just follow the figure below.
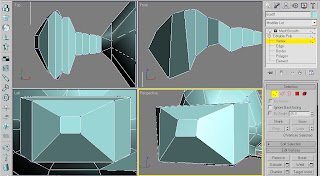
30. This time we’ll place an eye in the head of the turtle. Let’s cut two edges on the face of the turtle where the eye will be placed. Use the ‘Cut’ button in the ‘Edit Geometry’.

31. After that, place a sphere inside the area where you just cut two edges. Make the segments 12 instead of 32.
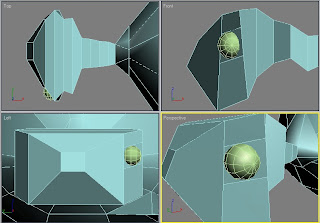
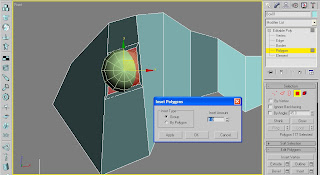
32. Select the polygon where the sphere is located. Click on the settings button beside ‘Inset’ and give it the inset value that will create the inner polygon.
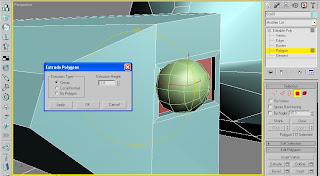
33. To create the eye socket, click on the settings button beside ‘Extrude’. Give it a negative value so that the extrusion will be inwards.
34. Scroll down from the command panel and look for ‘Subdivision Surface’ and check on the ‘Use NURMS Subdivision’. Click on vertex and adjust the vertices so that the eye will snuggly fit into the socket.
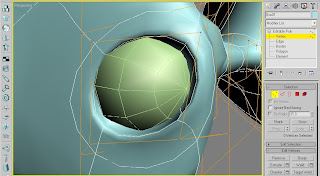
35. Make the value of ‘Iterations’ to 2. This will make the turtle look smoother.
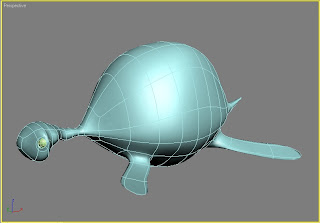
36. Let’s slice the turtle into two and copy the other side so that we’ll have a symmetrical object. Click on polygon and select all polygons. Then, click on the ‘Slice Plane’ button. Make sure that you slice the turtle at the center. When you’re done moving the plane, click on ‘Slice’.
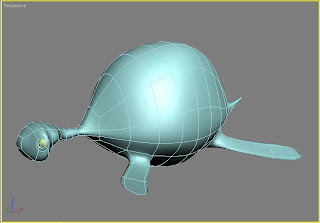
37. Select the other side of the turtle which doesn’t have the eye and the fins and press delete.
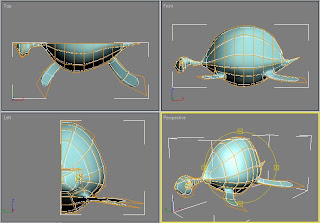
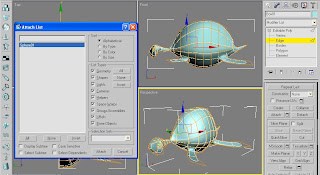
38. We’ll attach the eye to the body of the turtle. Select the turtle and click on edge. Click on the button settings beside ‘Attach’ and choose the sphere object. After that, click on the ‘Attach’ button below.
39. Let’s mirror the object. Click on the ‘Mirror’ button which is located at the Main Toolbar. Make the necessary changes to the configuration so as the turtle will have its other side beside it.
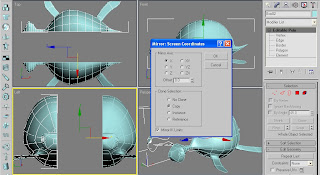
40. Move the two sides together just like the figure below.
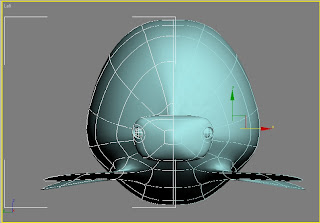
41. Attach the two sides and we’re done! Our turtle should look like the one below. Next topic, Texturing our 3D models.